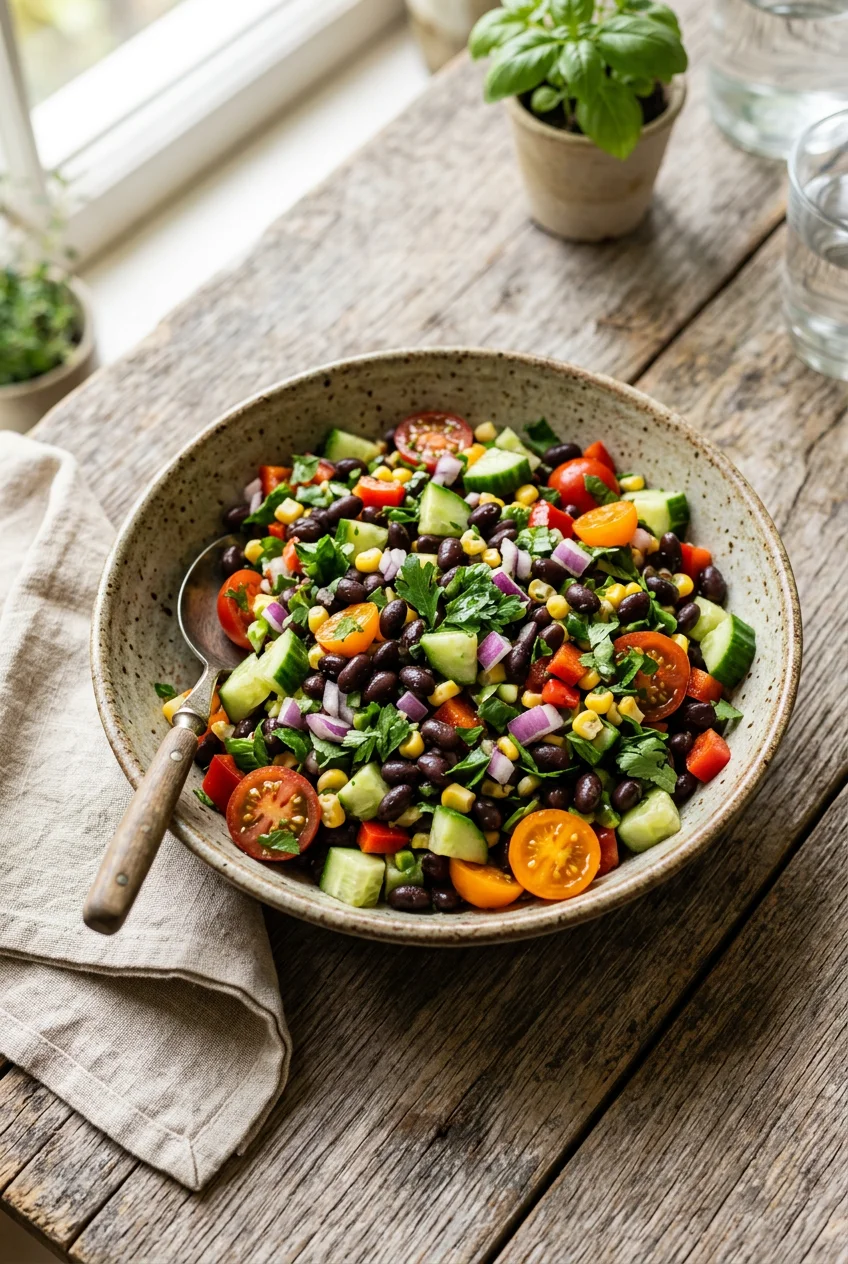
What’s Inside
- Build Cold Bean Salad Recipes Around Prebiotic Diversity
- The Crucial Step Most Cold Bean Salad Recipes Miss: Rinsing and Warming
- Master the 2:1 Dressing Ratio for Proper Acid Balance
- Neutralize Harsh Aromatics with a Cold Water Soak
- Add Edamame and Non-Starchy Vegetables for Density
- Ditch Dried Spices for Heavy Handfuls of Fresh Herbs
- Layer in Capers and Olives Before Final Seasoning
- Marinate the Base and Add Delicate Ingredients Last
Last Tuesday at Whole Foods, I dropped a plastic deli container of pre-made three-bean salad right in the middle of the prepared foods aisle. It hit the linoleum, the lid popped off, and it exploded. It immediately filled the air with the sharp, biting smell of industrial white vinegar. It reminded me exactly why most people hate standard cold bean salad recipes. The peas were chalky, the kidney beans were mushy, and the dressing was a watery, acidic mess. It was a total disaster.
If you want high-protein meals that actually digest well, you need better cold bean salad recipes. I spent three years tweaking the exact ratios of acid to fat to starch because I’m a clean-eating nutritionist, and I don’t do mushy vegetables. Trust me on this. Standard recipes treat beans like an afterthought, drowning them in cheap dressing to hide the metallic canned taste. We aren’t doing that. You need to treat the structural integrity of a canned chickpea with a little respect. Let’s fix the mechanical flaws in your meal prep so you actually look forward to eating your lunch instead of forcing it down.
1. Build Cold Bean Salad Recipes Around Prebiotic Diversity

The foundation of any structural salad is the bean itself. You need a diverse mix of legumes like black beans, chickpeas, and cannellini beans. Dietitians specifically look for this combination because it provides a massive dose of prebiotic fiber. It’s crucial for feeding healthy gut bacteria. The fiber ferments in your lower intestine, supporting digestion and preventing that heavy, bloated feeling that comes from eating highly processed lunches.
I learned that the hard way. A few years ago, I was shopping at Sprouts and grabbed the absolute cheapest conventional generic white beans I could find to save a dollar. It was a mistake. The second I stirred them in the bowl, the thin skins peeled off. It left a mealy, chalky paste that tasted distinctly like a tin can. You’re building a salad, not hummus. You need beans with thick, intact skins that can withstand being tossed in acid.
I switched to organic options immediately. I exclusively use Goya Organic Black Beans (usually around $1.79 per 15.5 oz can) or Eden Foods Organic Kidney Beans (typically $3.07 to $3.55 per 15 oz can). The structural difference is massive. The organic beans hold their shape, the centers remain creamy instead of powdery, and you don’t get that harsh metallic aftertaste that ruins the entire batch. Spend the extra eighty cents. It dictates the texture of your entire week of lunches.
2. The Crucial Step Most Cold Bean Salad Recipes Miss: Rinsing and Warming

There is a specific, gelatinous sludge at the bottom of every can of beans. It’s called aquafaba. While bakers use it as an egg substitute, leaving it on your beans for a salad is a critical error. If you don’t wash it off, that starchy liquid mixes with your vinaigrette and creates a thick, murky, unappetizing coating. You must drain and rinse your beans under cold water for a full sixty seconds. I use Good & Gather Organic Low Sodium Chickpeas (approximately $1.19 per 15 oz can at Target), and I rinse them until the water runs completely clear and the bubbles stop forming.
Once they’re rinsed, you have to warm them. This is the expert tip that completely changed how I prep. Cold beans are physically dense and repel oil. If you pour dressing over cold beans, it just slides off and pools at the bottom of your glass container. I tried this wrong for months before figuring it out.
You need to briefly warm your drained beans in the microwave for about forty-five seconds, or toss them in a hot cast iron pan on low heat for two minutes. Warming them expands the porous surface of the bean, allowing it to actually absorb the oil and vinegar. You won’t end up with dry beans and a puddle of dressing. The flavor penetrates all the way to the creamy center of the legume.
3. Master the 2:1 Dressing Ratio for Proper Acid Balance

If your mouth puckers when you eat a bean salad, your acid ratio is fundamentally broken. A proper vinaigrette requires a strict 2:1 ratio of oil to vinegar. I used to just free-pour oil and vinegar directly over the bowl. I’d end up with a greasy slick that coated the roof of my mouth, or an acidic burn that ruined my palate. You have to measure it. You might also like: 10 Low Carb High Protein Meals That Actually Work
For a standard batch, combine exactly 2 tablespoons of a high-quality extra virgin olive oil with 1 tablespoon of vinegar. I buy the massive bottle of Colavita Premium Italian Extra Virgin Olive Oil at Costco ($34.99 for a 34 fl oz bottle) because the peppery finish balances the starch of the beans perfectly. For the acid, Bragg Organic Apple Cider Vinegar is the standard choice, but I highly recommend experimenting with Champagne vinegar. You might also like: 8 Healthy Late Night Snacks Worth Trying
Champagne vinegar has a softer, less aggressive bite than red wine vinegar. From a functional nutrition standpoint, some experts note that gentle acids like Champagne vinegar can improve gastric acid signaling and help blunt post-meal blood sugar spikes. It provides the necessary brightness without overwhelming the earthy flavor of the chickpeas. Whisk the oil and vinegar together in a separate small bowl first until it emulsifies into a cloudy, unified liquid, then pour it over your warmed beans. You might also like: 12 Healthy Dinner Ideas For Family You Need to See

The Healthy Family Cookbook: 100 Fast and Easy Recipes for
A dependable everyday pick — The Healthy Family Cookbook: 100 Fast and Easy Recipes for the Whole F pulls in 967 ratings at 4.5 stars. Not flashy, just solid.
4. Neutralize Harsh Aromatics with a Cold Water Soak

Raw red onion provides necessary crunch, but it contains aggressive sulfur compounds that can easily hijack your entire meal. There is nothing worse than sitting at your desk, chewing a massive chunk of raw red onion, feeling it burn your sinuses, and knowing your breath is compromised for the rest of the afternoon. I refuse to eat salads that leave a lingering sulfur taste in my mouth. No exaggeration.
To fix this, you must mellow the aromatics. Take exactly 1/4 cup of finely diced red onion. I usually buy the 365 Everyday Value Organic Red Onions ($2.99 for a 2 lb bag). Place the diced onion in a small bowl and submerge it completely in ice-cold water. Let it soak for five to ten minutes while you prep your other vegetables.
This soaking technique, which is standard practice in professional kitchens, physically draws out the pungent sulfur compounds into the water. When you drain the onions and add them to your beans, they retain their crisp, structural crunch, but the harsh, burning “raw” flavor is entirely gone. They become a sweet, mild background note rather than an overpowering distraction. Don’t skip this step if you actually want to taste the other ingredients in your bowl.
5. Add Edamame and Non-Starchy Vegetables for Density

The 2026 “dense bean salad” trend is entirely based on volume eating. If you only eat beans, the calorie density gets very high, very quickly. To make the meal physically larger and more satisfying without causing a massive calorie spike, you have to load the bowl with non-starchy vegetables and secondary proteins.
My mandatory addition is 1.5 cups of cooked and cooled shelled edamame. I buy the Seapoint Farms shelled edamame from the freezer section at Kroger ($2.99 for a 12 oz bag). A single cup provides roughly 17 grams of protein, and the firm, snappy texture contrasts perfectly with the softer black beans and chickpeas. It completely changes the mouthfeel of the dish.
Next, add strict structural vegetables: 1 cup of diced red and yellow bell peppers, 1 cup of quartered cucumbers, and 1/2 cup of halved cherry tomatoes. You want pieces that are roughly the same size as the beans themselves so you get a balanced ratio in every single bite. The water content in the cucumbers and tomatoes provides a refreshing crunch that cuts through the dense, heavy starch of the legumes. This is how you build a salad that actually keeps you full until dinner without making you feel sluggish.
6. Ditch Dried Spices for Heavy Handfuls of Fresh Herbs

Dried herbs have no place in a cold bean salad. They taste like dusty pencil shavings and add a gritty texture to the dressing. If you’re relying on a shaker of dried parsley to flavor your meal prep, you’re doing it wrong. You need the bright, grassy, vibrant oils that only come from fresh produce to cut through the heavy legumes.
You need to use a heavy hand here. I use a full 1/4 cup of finely chopped fresh parsley or fresh cilantro. I usually grab Cal-Organic Farms Fresh Parsley ($1.99 per bunch at Walmart). The caramel-butter smell of chopping fresh parsley on a wooden board instantly wakes up the entire recipe. It provides a massive dose of antioxidants and completely transforms the visual appeal of the bowl, adding bright green flecks against the dark black beans.
If you want a Mediterranean profile, swap the cilantro for fresh dill or mint. The essential oils in fresh herbs degrade quickly, so chop them right before you fold them into the beans. Don’t chop them days in advance, or they’ll turn into a dark, slimy paste in your crisper drawer. The herbs act as a secondary salad green, providing volume and a sharp, clean finish that dried spices simply can’t replicate.

Air Fryer Cookbook: 600 Effortless Air Fryer Recipes for
Honestly, Air Fryer Cookbook: 600 Effortless Air Fryer Recipes for Beginners and surprised me — sturdier than it looks in the photos.
7. Layer in Capers and Olives Before Final Seasoning

Beans are inherently bland. They are porous sponges that desperately need salt, but simply dumping table salt into the bowl results in a flat, one-dimensional flavor. You need briny, complex, acidic salt sources to actually make the dish interesting.
Before you add any raw salt to your mixing bowl, stir in 1 to 2 tablespoons of drained capers or 1/2 cup of halved Kalamata olives. I exclusively use Trader Joe’s Pitted Kalamata Olives ($4.49 for a 12 oz jar) and Cento Nonpareil Capers (around $2.50 for a 3 oz jar). The sharp, briny pop of a caper cutting through the creamy, starchy texture of a cannellini bean is exactly what makes the salad satisfying.
This brings up a very common mistake: over-seasoning initially. Because beans are porous, they absorb salt slowly over time. If you salt the salad until it tastes perfect immediately after mixing, it’ll be aggressively, inedibly salty by the next day. Add your olives and capers first. Add a very moderate pinch of flaky sea salt and black pepper. Then, put the bowl in the fridge. You must taste and adjust the seasoning only after the salad has marinated.
8. Marinate the Base and Add Delicate Ingredients Last

Time is an actual ingredient in this recipe. If you mix a bean salad and eat it immediately, it tastes disjointed. The oil sits on the surface, the vinegar is sharp, and the beans taste plain. You have to let the flavors meld. Prepare the base of your salad at least one hour before serving and put it in the refrigerator. Overnight is even better. The beans will absorb the dressing, and the harsh edges of the vinegar will round out.
If I’m in a rush and can’t make a vinaigrette from scratch, I rely on Annie’s Organic Balsamic Vinaigrette ($3.49 for an 8 oz bottle). It has simple ingredients and lower sugar content than most commercial brands.
However, you must protect your delicate ingredients. Don’t put diced avocado or delicate greens into the bowl while it marinates. I did this once for a meal prep Sunday. By Tuesday, the avocado cubes had oxidized into brown, mushy, slimy lumps that coated everything in a gray paste. It was physically repulsive. Add your sturdy ingredients—beans, onions, bell peppers, edamame, and dressing—to the glass container. Wait to fold in your fresh avocado, cucumber, or feta cheese until the exact moment you’re sitting down to eat. This preserves the distinct textures and prevents the entire bowl from degrading into mush.
If you execute these structural steps correctly, you won’t ever have to force down a bland, chalky lunch again. These specific techniques change the entire physical profile of the ingredients. I’d highly recommend saving or pinning this page so you can reference the exact dressing ratios and soaking times the next time you’re standing in the kitchen staring at a can of chickpeas.
Frequently Asked Questions
How long do cold bean salad recipes last in the fridge?
Store them in an airtight glass container for up to four days. The beans actually absorb more flavor on day two. Add delicate ingredients like avocado right before eating so they won’t turn brown.
Can I freeze a cold bean salad?
You can’t freeze these successfully. The high water content in the cucumbers and bell peppers turns into a mushy, watery mess when thawed. It’s strictly a fridge-only meal prep option.
Why is my bean salad dressing cloudy?
You likely skipped rinsing the canned beans. The starchy aquafaba liquid mixes with the oil and vinegar, creating a thick, murky sludge. Always rinse your beans under cold water for a full sixty seconds.
Do I need to cook canned beans for salads?
Canned beans are already fully cooked, so you aren’t required to cook them again. However, warming them slightly in the microwave for forty-five seconds helps them absorb the vinaigrette much better than cold beans.
