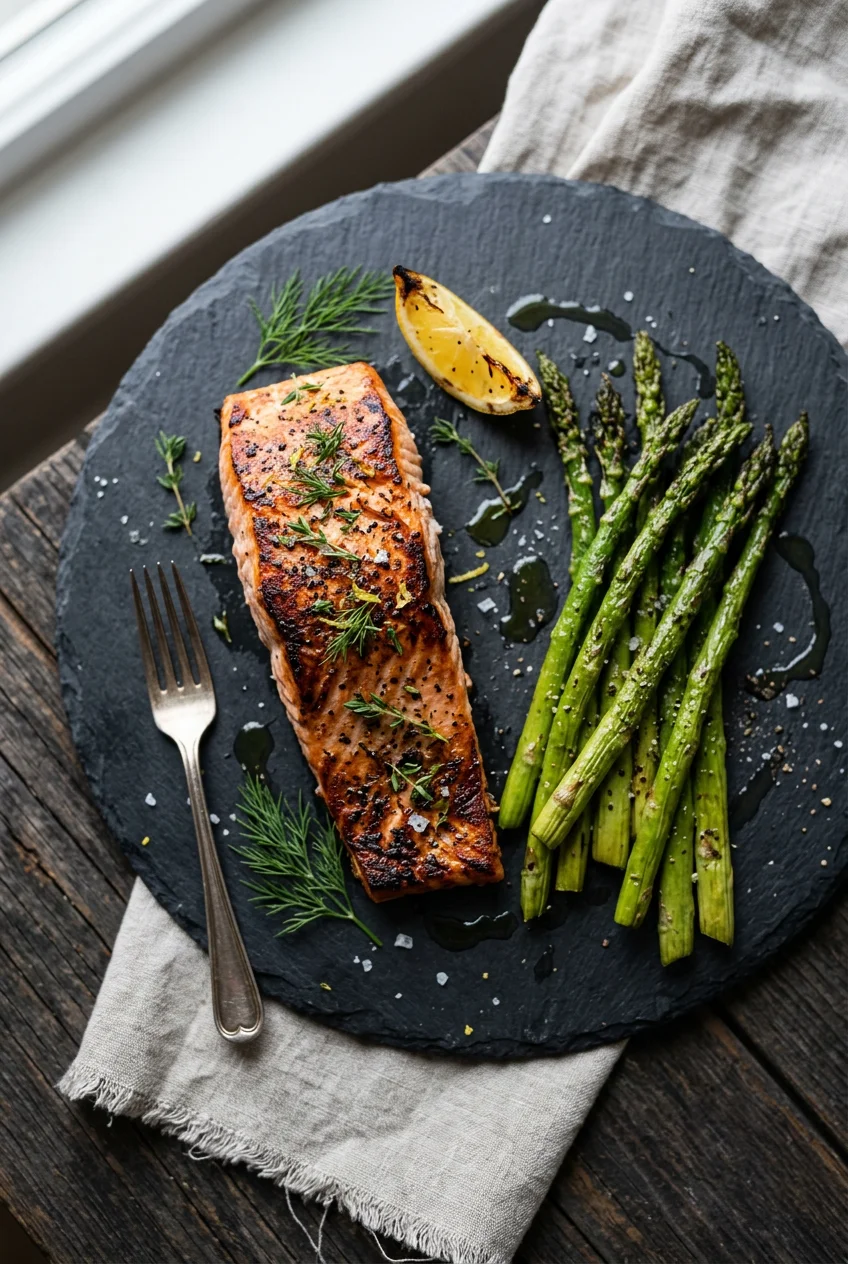
What’s Inside
- Mastering the Breading for Air Fryer Recipes Healthy Low Carb
- Upgrading to a Non-Toxic Machine for Better Protein Prep
- Stop Ruining Your Basket With Aerosol Cooking Sprays
- The Jicama Fry Flipping Rule You Can’t Ignore
- Overcrowding is the Absolute Enemy of Crunch
- Taming Flying Spinach and Muted Flavors
- Knowing When to Use Silicone vs. Parchment Liners
- Yes, You Can Bake Keto Donuts in 8 Minutes
I tossed a whole batch of soggy, grey zucchini sticks last Tuesday. I bought them at Whole Foods, but the real disappointment hit when I pulled the air fryer basket open at home. I was trying to crack the code on air fryer recipes healthy low carb without using standard breadcrumbs. Instead of a satisfying crunch, I got a mushy, watery pile that smelled like damp socks. If you’re struggling to make air fryer recipes healthy low carb that taste like real fried food, I’ve been there. I ate a lot of sad, rubbery chicken before I figured out the right temperatures and coatings. I kept blaming the recipes. The reality was my technique was wrong. I didn’t get how air circulation worked, I used the wrong oils, and I overcrowded the basket every single time. Let’s walk through eight specific methods I use every week to get crispy, low-carb food on the table in under thirty minutes.
1. Mastering the Breading for Air Fryer Recipes Healthy Low Carb

I tried making low-carb chicken nuggets last month by rolling damp chicken chunks in generic almond meal. It tasted like wet cardboard. The breading slid off into a sad puddle at the bottom of the basket. Most people get this wrong because they skip the binding steps. For truly crispy coatings, you need a superfine texture. I buy Bob’s Red Mill superfine almond flour. It costs $11.99 for a 16 oz bag at Sprouts. It has 3 net carbs per 1/4 cup, which fits my daily macros. If you want serious crunch, mix that almond flour with crushed pork rinds, also known as pork panko. The pork rinds provide the animal fat needed to crisp up under high convective heat.
Here is the process. You must pat your 16 oz of chicken breast or avocado slices dry with a paper towel first. Any moisture creates steam, and steam destroys crunch. Next, dip the dry protein into 1 beaten egg. Let the excess drip off for three seconds. Finally, press the almond and pork rind mixture firmly into the meat. If the meat is wet, the egg won’t stick. If the egg won’t stick, your expensive almond flour ends up burning on the bottom plate. It takes an extra four minutes of prep, but the texture mimics deep-fried breading. I’ve used this ratio for two years, and the breading stays attached every time.
2. Upgrading to a Non-Toxic Machine for Better Protein Prep

I cooked on a peeling, scratched Teflon basket for a year before I realized those black flakes were in my food. I was tracking my carbs but ignoring the chemicals leaching into my dinner. Prioritize models with ceramic-coated baskets or stainless steel interiors to avoid PFAS chemicals. I bought the Midea Flexify French Door Air Fryer for $149.99 during a Target run. It has a stainless steel interior that doesn’t scratch when I use metal tongs. If you have a higher budget, the Typhur Sync Air Fryer runs about $350. It features a ceramic-coated basket and a built-in temperature probe for precise cooking.
Having a reliable machine changes how you prep low-carb proteins. The air fryer excels at cooking thick cuts quickly while sealing the outside to keep moisture in. I cook 1-inch thick pork chops in 10 minutes at 400°F. I rub them with 1 tablespoon of olive oil and 1 teaspoon of smoked paprika first. The high heat creates a crust that a standard oven simply can’t replicate without drying out the center. Chicken thighs also come out crispy and juicy. I leave the skin on, season with 1/2 teaspoon of garlic salt, and cook them skin-side up for 18 minutes at 380°F. You don’t need a deep fryer to get shatteringly crisp chicken skin. You just need a basket that holds an accurate temperature.
3. Stop Ruining Your Basket With Aerosol Cooking Sprays

I ruined my first air fryer basket in three months. I sprayed a generic aerosol cooking spray directly onto the non-stick surface every night. Eventually, a sticky, brown, polymerized residue built up that I couldn’t scrub off without taking the coating with it. Aerosol cans contain emulsifiers like soy lecithin that degrade the coating under high heat. While air frying uses less oil than deep frying, a light spritz of high-quality liquid fat is necessary for even browning on low-carb vegetables. You might also like: 15 Clever Kids Healthy Breakfast Ideas for a Fresh New Look
I switched to a reusable oil sprayer. I bought the Evo Oil Sprayer. It costs $19.99 for a set of two bottles. I fill one with avocado oil I get from Costco. The 1-liter bottle of Chosen Foods avocado oil costs $18.99 there. Avocado oil has a smoke point of 500°F, so it won’t burn when you’re roasting broccoli at 400°F. When I make zucchini fries, I arrange them in the basket and pull the Evo trigger twice. It dispenses 1/4 teaspoon of oil per pull in a wide fan pattern. This covers the vegetables evenly without drowning them. The zucchini browns instead of steaming. Throw away the aerosol cans. Your hardware will last longer, and your food won’t have that weird chemical aftertaste. You might also like: 12 Quick Dinner Ideas Healthy for Every Budget

Cathy Yoder’s Air Fryer Cookbook for Two (2026): Easy
If you want something that just works, Cathy Yoder’s Air Fryer Cookbook for Two (2026): Easy is a safe bet.
4. The Jicama Fry Flipping Rule You Can’t Ignore

I tried making jicama fries last winter. I threw a huge pile into a cold air fryer, set the timer for 20 minutes, and walked away. I came back to a disaster. The fries on top were charcoal. The ones on the bottom were raw, cold, and crunchy in the bad way. If you want even browning, especially for items like low-carb jicama or rutabaga fries, you have to manage the process. First, preheat your air fryer for 3 to 5 minutes to 375°F. Just like a conventional oven, preheating ensures the food starts cooking immediately and seals the exterior. You might also like: 12 Pea Salad Recipes You Need to See
Second, you need uniform slices. I use the OXO Good Grips Simple Mandoline Slicer. It costs $25 at Kroger. I cut my finger on a cheap mandoline years ago, so I always use the safety guard. I slice the jicama into 1/4-inch matchsticks. Toss them with 1 tablespoon of avocado oil and 1/2 teaspoon of salt. Put them in the preheated basket. Here is the non-negotiable part. You must shake the basket or flip the items with silicone-tipped tongs halfway through. At the 8-minute mark, pull the drawer out and give it a shake. This moves the bottom fries to the top. It prevents one side from becoming overly crispy while the other stays soft. It’s annoying to interrupt, but it’s the only way to get a uniform crunch.
5. Overcrowding is the Absolute Enemy of Crunch

I made this mistake last Thanksgiving when trying to rush a batch of low-carb Brussels sprouts. I dumped two whole 16 oz bags of halved sprouts into a 4-quart basket. I figured they’d shrink. They didn’t. They just steamed each other. The hot air couldn’t circulate between the layers. I ended up serving grey, sulphurous mush. A common mistake is filling the basket too much, which restricts the air circulation. You must cook in single layers. You need visible space between your chicken wings or your cauliflower florets.
If you’re cooking for a family, batch cooking gets tedious. I upgraded to a dual-basket model. I bought the Ninja Foodi DualZone for $199 at Walmart. It has two separate 4-quart baskets. If counter space is tight, the Ninja Double Stack XL runs around $250 and stacks the baskets vertically. These machines feature Smart Finish technology. This synchronizes the cooking times and temperatures for two different foods. I can put 16 oz of salmon in the left basket at 390°F for 12 minutes, and 12 oz of asparagus in the right at 400°F for 8 minutes. I press the Smart Finish button, and the machine delays the asparagus so both sides finish at the exact same second. It stops me from overcrowding a single basket just to get dinner done on time.
6. Taming Flying Spinach and Muted Flavors

I nearly started a fire trying to make keto kale chips. I tossed 4 cups of raw kale with olive oil and put it in the basket. Two minutes later, I smelled burning leaves. The powerful fan had sucked the lightweight kale pieces right into the heating element. Very light low-carb ingredients, like spinach, kale, or delicate herbs, will fly around. To avoid this, you need to weigh them down. I place a small stainless steel roasting rack directly over the leafy greens. It pins them down while still allowing the air to pass through. You can also place heavier items, like a chicken breast, directly on top of the greens.
Another issue is flavor loss. The intense, circulating air can blow dry seasonings right off your food, leaving the final dish tasting dull. Air frying mutes flavors compared to pan-frying in butter. You can’t be shy with your low-carb friendly seasonings. When I make roasted cauliflower, I use double the spices I’d normally use in an oven. I mix 1 teaspoon of smoked paprika, 1 teaspoon of garlic powder, 1/2 teaspoon of onion powder, and a heavy pinch of cayenne pepper with 2 tablespoons of oil. I massage this paste into the cauliflower so it sticks. The oil binds the spices, ensuring the fan doesn’t blow your expensive seasonings into the exhaust vent.

Super Easy Air Fryer Cookbook for Beginners: Quick, Simple
Super Easy Air Fryer Cookbook for Beginners: Quick has been one of the most consistently praised picks in this category.
7. Knowing When to Use Silicone vs. Parchment Liners

Scrubbing baked-on cheese off a metal grate is my least favorite chore. I started experimenting with liners. Reusable silicone air fryer liners are popular for easy cleanup and protecting your non-stick coating. I use the Wavelu Air Fryer Silicone Pot. It costs $14.99 on Amazon. It has side handles so I don’t burn my knuckles lifting it out. I throw it in the dishwasher. However, silicone blocks airflow from the bottom. If crispiness is your goal, like with chicken wings, silicone liners will leave the bottom of your food soggy. I only use silicone for wet marinades or reheating messy casseroles.
For messier low-carb dishes that still need airflow, I use disposable parchment paper liners. I buy the Reynolds Kitchens Unbleached Parchment Air Fryer Liners. A pack of 30 sheets costs $4.50. I use these for cheesy keto snacks, like when I melt cheddar cheese over broccoli. The parchment prevents the cheese from fusing to the grate, but the paper is thin enough that the heat still penetrates the bottom. You must ensure the parchment is weighed down by the food. If you put a liner in during the preheat cycle without food on top, the fan will suck the paper into the heating element and it will ignite. I did this once and had to unplug the smoking machine in a panic.
8. Yes, You Can Bake Keto Donuts in 8 Minutes

I always thought the air fryer was just for savory dinner prep until I wanted a pastry on a Tuesday night. Beyond savory dishes, the machine functions as a high-powered mini convection oven. It creates low-carb treats in a fraction of the time a regular oven takes. You need small, heat-safe vessels. I bought a dozen OXO Good Grips Silicone Baking Cups for $11.99. They fit perfectly into the basket. I use them for keto muffins, morning egg bites, and mini crustless quiches.
My favorite quick dessert is keto air fryer donuts. I mix 1 cup of almond flour, 1/4 cup of erythritol, 1 teaspoon of baking powder, 1 egg, and 2 tablespoons of melted butter. I buy my erythritol at Whole Foods. The Swerve brand granular sweetener costs $8.99 for a 12 oz bag there. I pipe the batter into a silicone donut mold that fits my basket. I set the temperature to 380°F and cook them for 8 minutes. The air circulation creates a firm, browned crust on the outside while the inside stays fluffy. I tried this at 400°F once and they burned on the outside while staying raw in the middle. 380°F is the sweet spot for low-carb baking. I pop them out, brush them with a bit of melted butter, and roll them in a cinnamon-erythritol mix. They satisfy the craving without wrecking my blood sugar.
Figuring out these techniques shifted my dinner routine. I don’t dread cooking proteins anymore, and I look forward to eating vegetables when they have a real crunch. If you’re tired of soggy, sad diet food, grab a bag of superfine almond flour and start experimenting with the temperature controls. Pin this guide so you have the exact temperatures and measurements handy the next time you’re standing in the kitchen wondering why your chicken nuggets look grey.
Frequently Asked Questions
Can I use regular flour instead of almond flour for low carb air frying?
No. Regular wheat flour is very high in carbohydrates. For air fryer recipes healthy low carb, you need superfine almond flour or crushed pork rinds. These alternatives provide the fat and texture needed to crisp up under high heat without spiking your blood sugar.
Why is my low carb breading falling off in the air fryer?
You aren’t patting your protein dry first. Moisture creates steam, which pushes the breading off. Pat the meat completely dry with a paper towel, dip it in beaten egg, and press the almond flour mixture firmly into the surface before cooking.
Do I need to spray oil on my food when using an air fryer?
Yes, a light spritz of high-quality liquid oil, like avocado or olive oil, helps low-carb vegetables and breadings brown evenly. However, avoid aerosol cooking sprays, as the emulsifiers will degrade your basket’s non-stick coating over time. Use a reusable pump sprayer instead.
Why are my air fried vegetables burning on the outside but raw inside?
You’re likely overcrowding the basket or skipping the preheat phase. Cook in a single layer with visible space between items so hot air can circulate. Always preheat for 3 to 5 minutes, and remember to shake the basket halfway through the cooking time.
